Learning how to calculate sintered stone slab quantity correctly can help project buyers reduce waste, improve cutting efficiency and avoid material shortages. Calculating the correct slab quantity is one of the most important steps before ordering sintered stone for a project.
For professional buyers, the required quantity should not be based only on total finished square meters.
Finished dimensions, slab size, cutting layout, vein direction, edge fabrication and waste allowance can all affect the actual number of slabs required.
This is why two projects with the same finished area may require a different quantity of material.
This guide explains how to calculate sintered stone slab quantity more accurately before requesting a quotation or placing an order.
Why Total Square Meters Are Not Enough
A common mistake is to calculate the total area of all finished pieces and then order the same square-meter quantity in slabs.
For example, if a project requires 100 m² of finished countertops, it may seem reasonable to order 100 m² of slabs.
In practice, this is rarely enough.
The cutting process creates waste because finished pieces must fit within the slab dimensions.
Some pieces may also need to follow a specific vein direction or pattern layout.
Additional material may be required for:
- Cutting waste
- Edge strips
- 45-degree mitered edges
- Sink and cooktop cut-outs
- Breakage allowance
- Pattern matching
- Replacement pieces
- Site changes
The correct purchasing quantity therefore depends on the cutting plan, not only the finished area.
Step 1: Confirm the Finished Dimensions
The first step is to collect the finished dimensions of every required piece.
For countertop projects, this may include:
- Main countertops
- Kitchen islands
- Vanity tops
- Backsplashes
- Waterfall side panels
- Window sills
- Reception counters
- Table tops
Each piece should be listed individually.
For example:
| Piece | Finished Size | Quantity |
|---|---|---|
| Kitchen countertop | 2400 × 600 mm | 2 |
| Island top | 2600 × 1000 mm | 1 |
| Vanity top | 1200 × 550 mm | 4 |
| Backsplash | 2400 × 600 mm | 2 |
This information is much more useful than simply saying:
“We need approximately 20 m².”
Finished dimensions allow the supplier or fabricator to evaluate how many pieces can be cut from each slab.
Step 2: Confirm the Slab Size
The next step is to confirm the available slab format.
One common large-format sintered stone size is:
3200 × 1600 mm
The gross area of one slab is:
3.2 × 1.6 = 5.12 m²
However, the usable area should not be treated as exactly 5.12 m² in every project.
Edge trimming, cutting clearance and fabrication tolerance must also be considered.
For project planning, the important question is:
How many finished pieces can be produced from each slab?
That is more useful than simply dividing the total project area by 5.12 m².
Step 3: Create a Cutting Layout
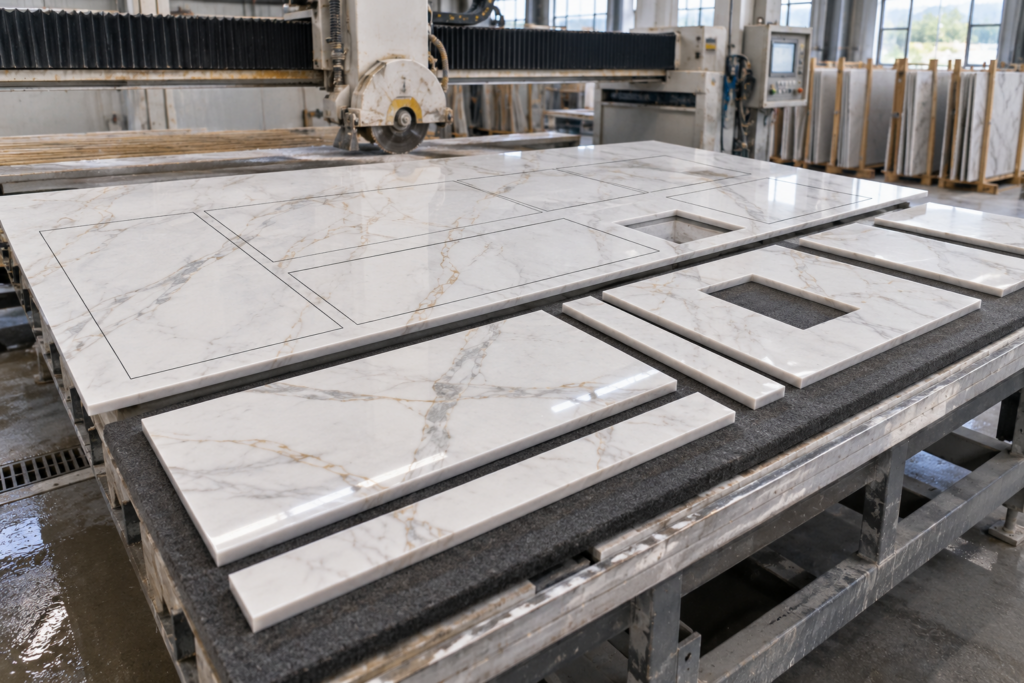
A cutting layout shows how finished pieces will be arranged on each slab.
This is where material utilization becomes clear.
For example, suppose one slab is 3200 × 1600 mm.
A project requires vanity tops measuring:
1200 × 550 mm
Depending on the cutting direction and allowance, several vanity pieces may fit on the same slab.
Without a layout, the buyer may order based only on square meters and either:
- Order too much material
- Order too little material
- Miss the opportunity to improve utilization
For hotels, apartments and multi-unit projects, layout optimization can significantly affect the total material cost.
Step 4: Consider Vein Direction
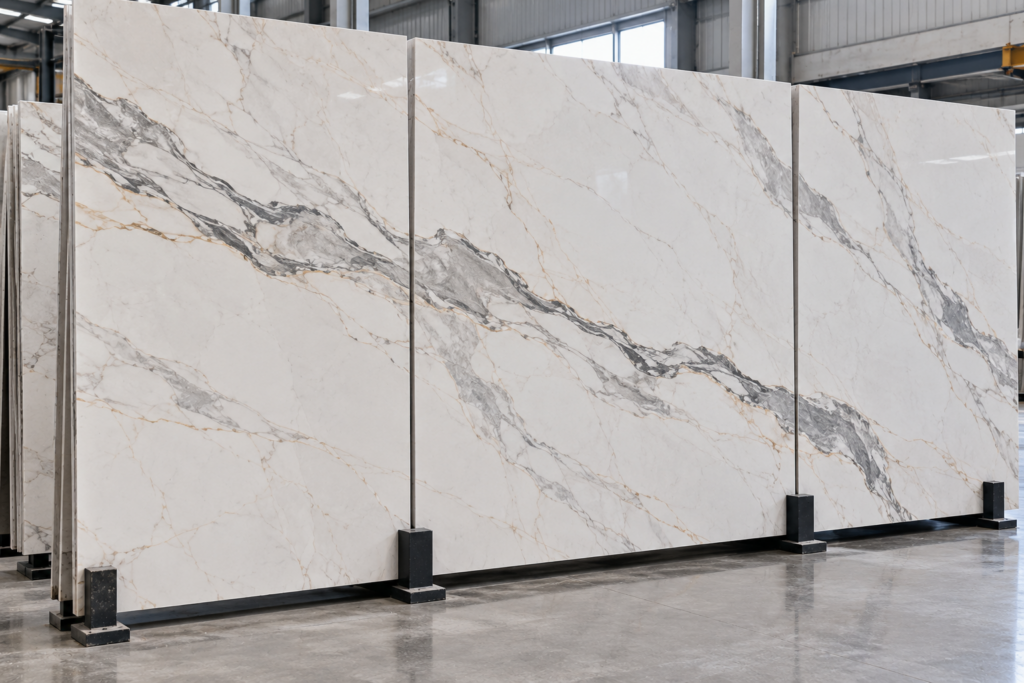
For plain colors or subtle patterns, pieces may often be rotated to improve cutting efficiency.
For strongly veined designs, this may not be possible.
The vein direction may need to remain consistent across:
- Countertops
- Islands
- Waterfall panels
- Backsplashes
- Adjacent wall panels
If the pattern must run in a specific direction, the cutting layout becomes less flexible.
This can increase the number of slabs required even if the total finished square meters remain unchanged.
For marble-look sintered stone, buyers should therefore confirm whether pattern direction is important before calculating the final quantity.
Step 5: Include Material for Mitered Edges
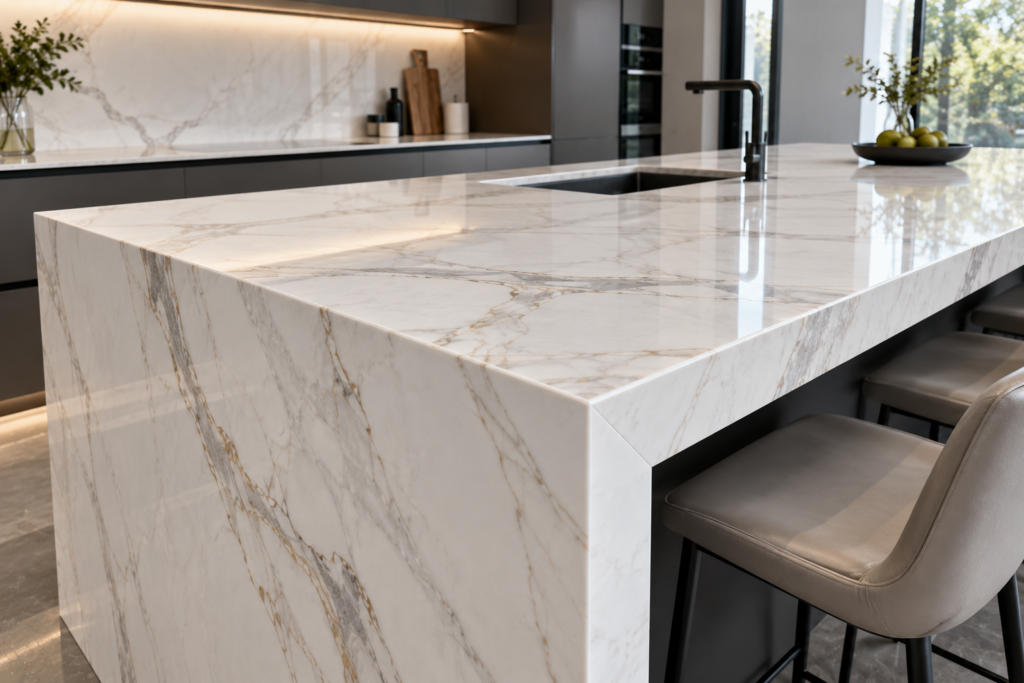
A thick countertop appearance can often be created using a 45-degree mitered edge.
For example, a 12 mm slab may be fabricated to create the appearance of a 30 mm or 40 mm countertop edge.
But the additional edge strips also consume material.
This means the slab quantity calculation should include:
- Main countertop pieces
- Edge strips
- Waterfall panels
- Front aprons
- Side returns
Ignoring these pieces can lead to material shortage during fabrication.
Step 6: Add an Appropriate Waste Allowance
A waste allowance should normally be included in project calculations.
The percentage depends on the project.
Typical factors include:
- Number of different finished sizes
- Pattern direction
- Number of cut-outs
- Complexity of fabrication
- Quantity of repeated pieces
- Replacement requirements
- Slab size
For simple repetitive projects, waste may be relatively controlled.
For projects with many different dimensions or strong vein matching requirements, waste can be higher.
Instead of using one fixed percentage for every project, buyers should first create a preliminary cutting layout.
Example: Why Finished Area and Slab Quantity Can Be Different
Suppose a project requires 10 countertop pieces.
Each piece measures:
2400 × 600 mm
The finished area of one piece is:
2.4 × 0.6 = 1.44 m²
For 10 pieces:
1.44 × 10 = 14.4 m²
If using 3200 × 1600 mm slabs, one slab has a gross area of:
5.12 m²
A simple area calculation would suggest:
14.4 ÷ 5.12 = 2.81 slabs
That might lead someone to assume three slabs are enough.
But the finished pieces must physically fit inside each slab.
Depending on the arrangement, only two 2400 × 600 mm pieces may fit efficiently on one slab.
In that case:
10 pieces ÷ 2 pieces per slab = 5 slabs
This example shows why square-meter calculations alone can be misleading.
The physical cutting layout determines the actual slab requirement.
Step 7: Check Cut-Outs and Fabrication Risk
Sink and cooktop cut-outs may not always change the slab quantity directly, but they affect fabrication risk.
Large openings can create weaker sections during handling and transport.
For general workplace safety guidance during stone fabrication, you can also refer to OSHA’s information on respirable crystalline silica.
For fully fabricated orders, it may be wise to prepare replacement material for critical pieces.
This is particularly important for:
- Large kitchen islands
- Long countertops
- Narrow sections around sinks
- Pieces with multiple openings
- Complex mitered fabrication
For project orders, replacement planning should be discussed before production rather than after damage occurs.
Step 8: Consider Packing and Container Loading
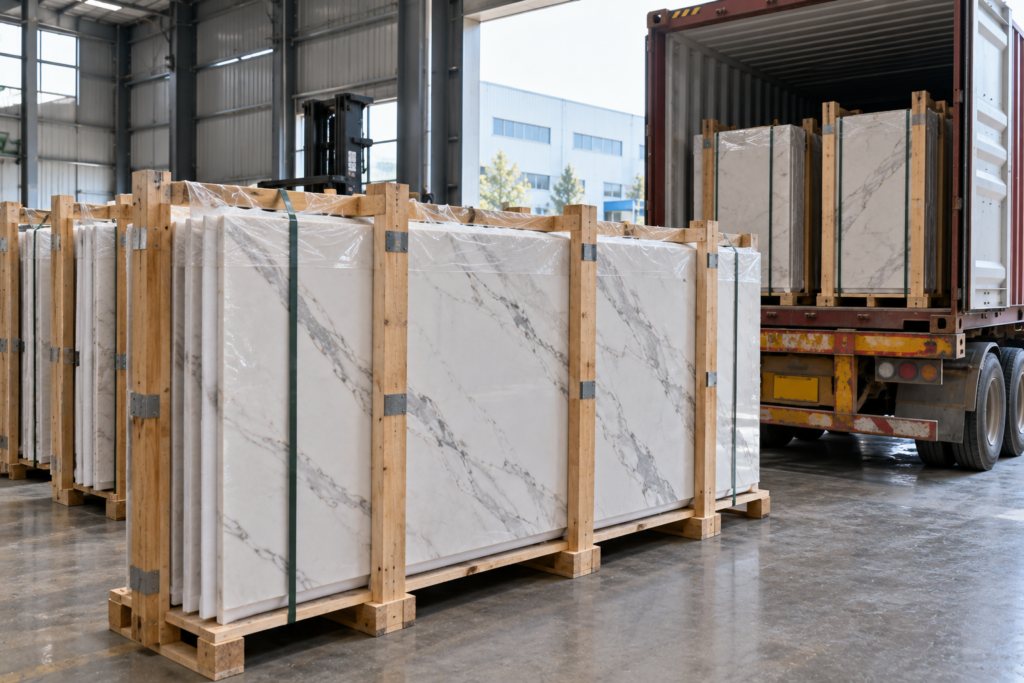
Material quantity also affects logistics.
The number of slabs may influence:
- Packing method
- Wooden frame quantity
- Container loading
- Total weight
- Freight cost
- Loading efficiency
For international buyers, the best order quantity is not always the smallest possible number of slabs.
Sometimes a slightly higher quantity can improve:
- Container utilization
- Replacement security
- Batch consistency
- Project continuity
This is why material planning and shipping planning should be considered together.
How Should Buyers Request a Quantity Calculation?
If you want a supplier to help calculate the required sintered stone quantity, provide:
- Finished dimensions
- Quantity of each piece
- Slab size
- Thickness
- Preferred design
- Vein direction requirements
- Cut-outs
- Edge details
- Drawings, if available
- Destination
For repeated project pieces, Excel lists or drawings are especially useful.
The more complete the information, the more accurate the slab quantity and quotation can be.
For a broader sourcing checklist, you can also read our guide on How to Choose Sintered Stone Slabs.
How to Calculate Sintered Stone Slab Quantity More Accurately
A practical calculation process is:
Finished Dimensions → Slab Size → Cutting Layout → Pattern Direction → Edge Material → Waste Allowance → Final Slab Quantity
This is more reliable than:
Finished Area ÷ Slab Area
For professional buyers, the goal is not only to minimize the number of slabs.
The goal is to achieve the best balance between:
- Material utilization
- Fabrication safety
- Pattern continuity
- Replacement allowance
- Final project cost
Final Thoughts
To calculate sintered stone slab quantity accurately, buyers should start with finished dimensions rather than total square meters.
A cutting layout can reveal whether the selected slab format is efficient for the project and how much waste is likely to be created.
For distributors, fabricators and project contractors, this can help reduce unnecessary material cost and avoid shortages during fabrication.
At Shenzhen Chameleon Stone Industry Co., Ltd., we can support project buyers with:
- Slab selection
- Quantity calculation
- Cutting layout review
- Cut-to-size fabrication
- Edge processing
- 45-degree mitering
- Export packing
- Container loading planning
If you are preparing a sintered stone project, send us your finished dimensions, quantity, preferred design and fabrication requirements.
We can help review the slab quantity before you place the order.
If you are comparing countertop materials, see our Sintered Stone vs Quartz guide.